Docker Disk Full? Find the Space Hogs and Clean Up Safely
A Docker host can run out of disk while its containers look perfectly healthy. Old image layers, build cache, application files, and logs all grow differently. The useful first step is to identify which one is filling the filesystem.
This guide uses Docker Engine on Linux. Most Docker commands also work with Docker Desktop, but Desktop stores Linux container data inside a virtual disk. Freeing data inside that disk may not immediately shrink its file on Windows or macOS.
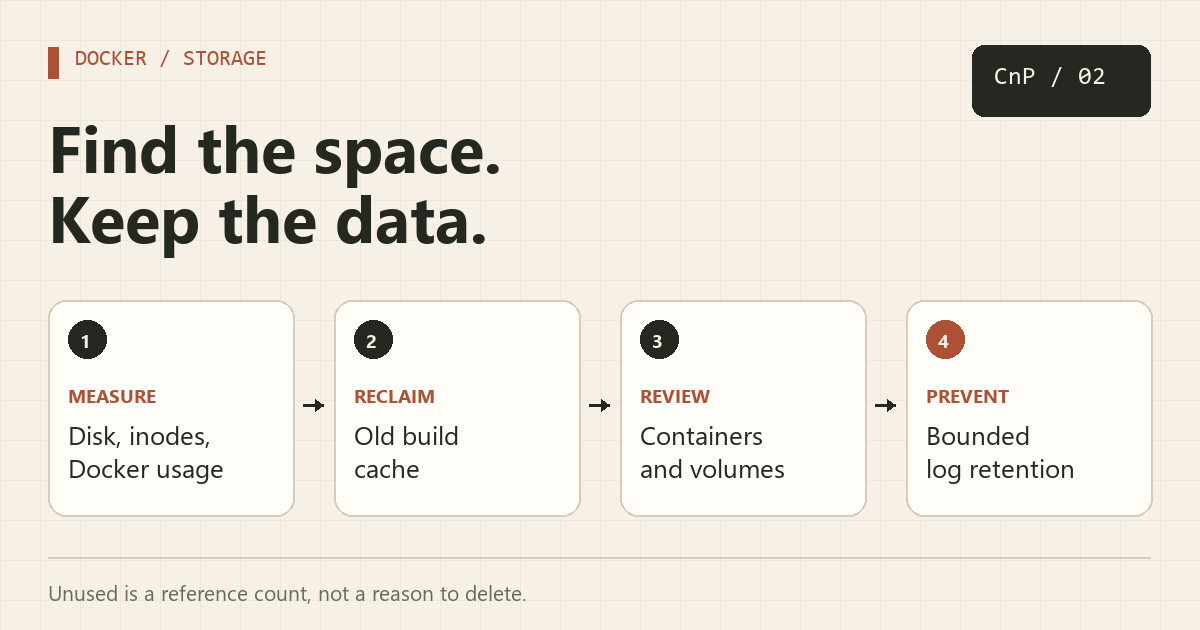
1. Measure before deleting
Start with the host filesystem and Docker's own inventory:
df -h
df -i
docker system df
docker system df -v
docker ps -a --size
docker buildx ls
docker buildx du
df -i catches exhausted inodes: many tiny files can prevent writes even when bytes remain. docker system df -v separates images, containers, and local volumes. Shared image layers mean you cannot simply add every image's displayed size.
The writable layer shown by docker ps --size excludes mounted volume data and container log files. A small container size therefore does not prove that container has a small total footprint. Buildx reports cache for the selected builder; check other builders if you use more than one.
2. Reclaim rebuildable cache first
If build cache is the main consumer, prune old cache for the appropriate builder:
docker buildx prune --filter "until=168h"
docker system df
Read the confirmation prompt. This removes eligible build cache and can make later builds slower. It is not a backup operation. The age filter applies to cache records; do not interpret it as a preview of every resource Docker might delete.
For dangling images, inspect the list and then use the narrower image prune command:
docker image ls --filter dangling=true
docker image prune
docker image prune keeps tagged images by default. Adding -a also makes images unused by existing containers eligible, including images you saved for a rollback. Only expand the scope after checking those images.
3. Inspect stopped containers individually
A stopped container may still contain a file you need in its writable layer. Review it before removal:
docker ps -a --filter status=exited
docker inspect old-container --format '{{json .Mounts}}'
docker diff old-container
# If needed, copy a known file out before removing the container.
docker cp old-container:/path/to/important-file ./important-file
docker rm old-container
Replace old-container and the file path. Removing the container deletes its writable layer. Named volumes remain unless separately removed, but files stored outside a volume do not. Avoid adding -v without understanding the anonymous volumes attached to that container.
4. Treat volumes as application data
Check the owner and contents of a candidate volume before deciding it is disposable:
docker volume ls
docker volume inspect old-data
docker ps -a --filter volume=old-data
docker run --rm   --mount type=volume,source=old-data,target=/data,readonly   alpine:3 sh -c 'du -sh /data; ls -lan /data'
# Only after reviewing and backing up the data:
docker volume rm old-data
The helper image may need to be pulled, which itself requires space. An unreferenced volume can still contain the only copy of an app's data. The word “unused” describes Docker's current references, not whether the information is valuable.
On current Docker versions, docker volume prune removes unused anonymous local volumes by default; --all also includes unused named volumes. Check your installed command's --help and prompt. A broad prune should not be your first response to a full disk.
5. Prevent container logs from growing forever
Add a bounded logging configuration under each applicable service in your Compose file:
services:
  my-app:
    # Keep your existing image, mounts, ports, and environment here.
    logging:
      driver: local
      options:
        max-size: "10m"
        max-file: "3"
This is a fragment to merge into an existing service, not a complete application configuration. The local driver rotates and compresses logs. Recreate the container during a maintenance window for the setting to apply:
docker compose config --quiet
docker compose up -d --force-recreate my-app
docker inspect my-app --format '{{json .HostConfig.LogConfig}}'
docker logs --tail 100 my-app
The last two commands expect the actual container name; Compose may generate one. This limits stdout/stderr logs managed by Docker. Files that the application writes inside its own volume need the application's retention settings.
Verify the result
Run df -h, df -i, and docker system df again, then check the affected services. If space remains occupied after files are deleted, a process may still hold an open file. Investigate that process and restart the relevant service when appropriate. Let Docker manage its own storage and log files; manually deleting directories under /var/lib/docker can damage the daemon's state.
Before removing persistent data, follow the backup and restore guide.
Official references
About Copy And Paste
Just a curious soul dabbling in the world of IT. Exploring coding, sysadmin tricks, and tech automation — because who doesn’t love copying and pasting clean code that just works?
More in Tricks
Set Up a New Windows PC with WinGet: A Repeatable App Checklist
Install a small, explicit set of Windows tools with exact package IDs, record failures, and reuse your package list on the next PC.
Splitting a Dual-Lens Camera Feed for a Hikvision DVR
I recently picked up an inexpensive dual-lens Yoosee camera. It works well, but there’s a catch: it doesn’t provide separate video streams for each lens. Instead, it merges both lenses into a single frame, which makes viewing difficult even though the camera can technically be added to a Hikvision DVR. After some research, I found …